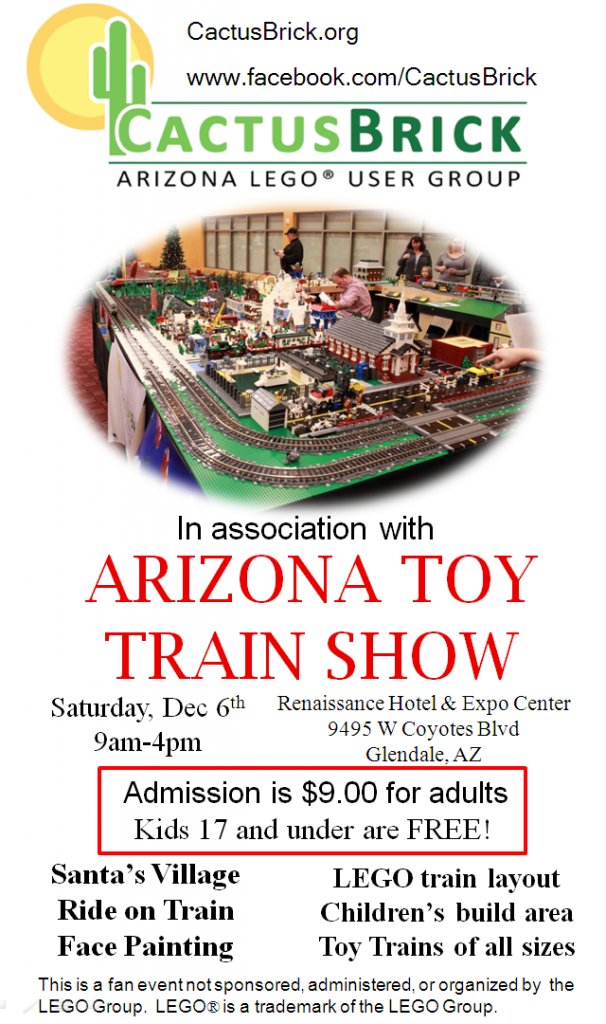
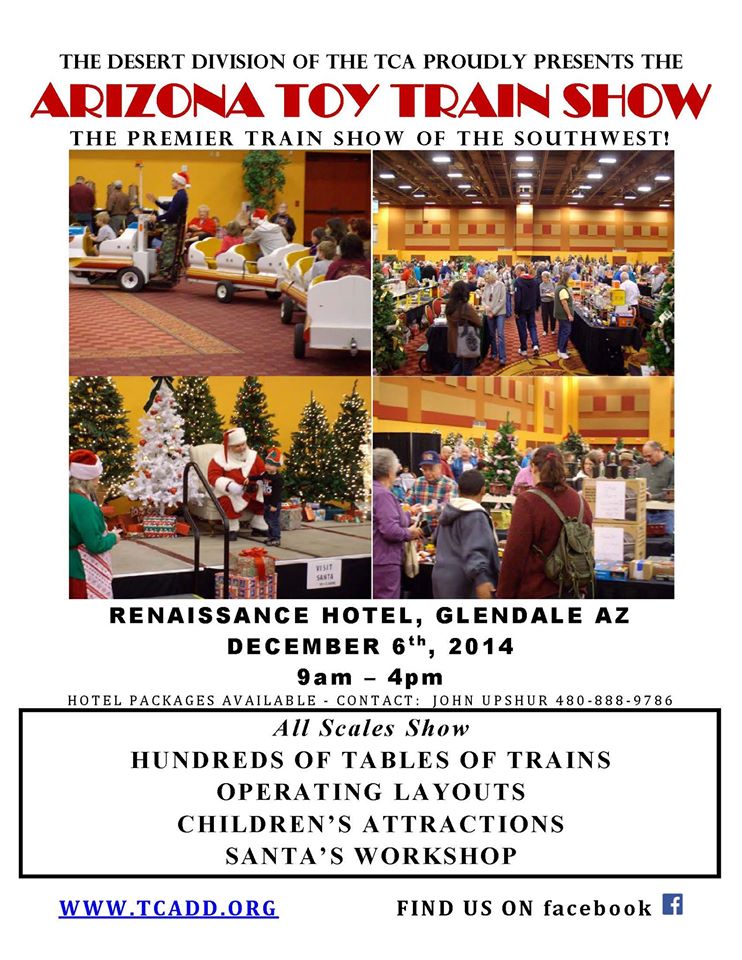
We will have a Lego display at the Arizona Toy Train Show on Dec 6th. It’s in Glendale near the Cardinals Stadium at the Renaissance Hotel.
We had a large city/train display at Tempe Marketplace across from the GAP. We were there from Oct 31 to Nov 30. Here’s some pictures of that display:
We had a MILS landscape contest at our October 18, 2014 Meeting. Here’s some pictures of what people brought in:
We had a smaller city/train layout at Railfair 2014 (Oct 11,12). It was our first deployment (and test) for the new train control system. Here’s are some pictures from there:
We had 24 people attend our September 20th, 2014 Meeting. Here’s some pictures of what people brought in:
We had 16 people attend our August 16th, 2014 Meeting. We had a parts draft of the Castle Cavalry. Here are some pictures of the meeting:
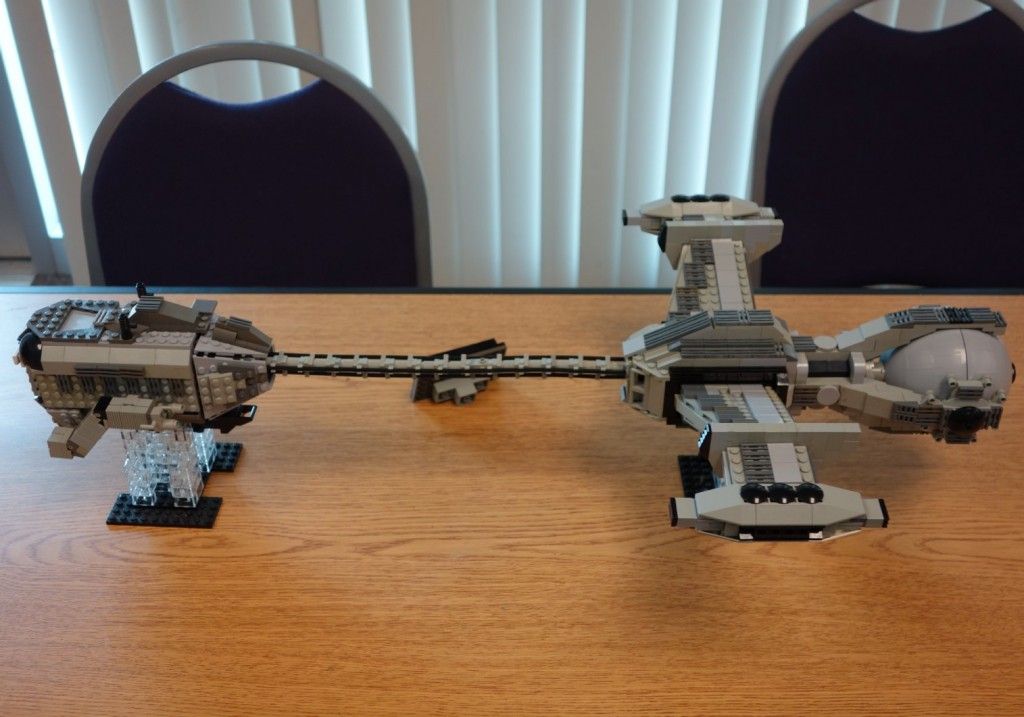
We had 24 people attend our July 19th, 2014 meeting. We held a “Space” contest which had 10 entries. Here are some pictures of the contest entries as well as some suggestions for our castle theme armies.
and the winner is:
For club builds we have decided to use the MILS (Modular Integrated Landscaping System). The standard is described at the following website:
as well as articles in the HispaBrick Magazine (Edition 13-16).
These are instructions for a good looking, relatively easy to build, tree.
This standard allows a large number of people to participate in our group builds and allows for a lot of flexibility in how we layout our landscaping scenes. Here is an useful source that offers various tips and tricks for successful landscaping. At first, we are concentrating on basic level ground modules with pathways and rivers but as we build up more available pieces, I’m sure we’ll have more of the mountains and/or coastal areas.
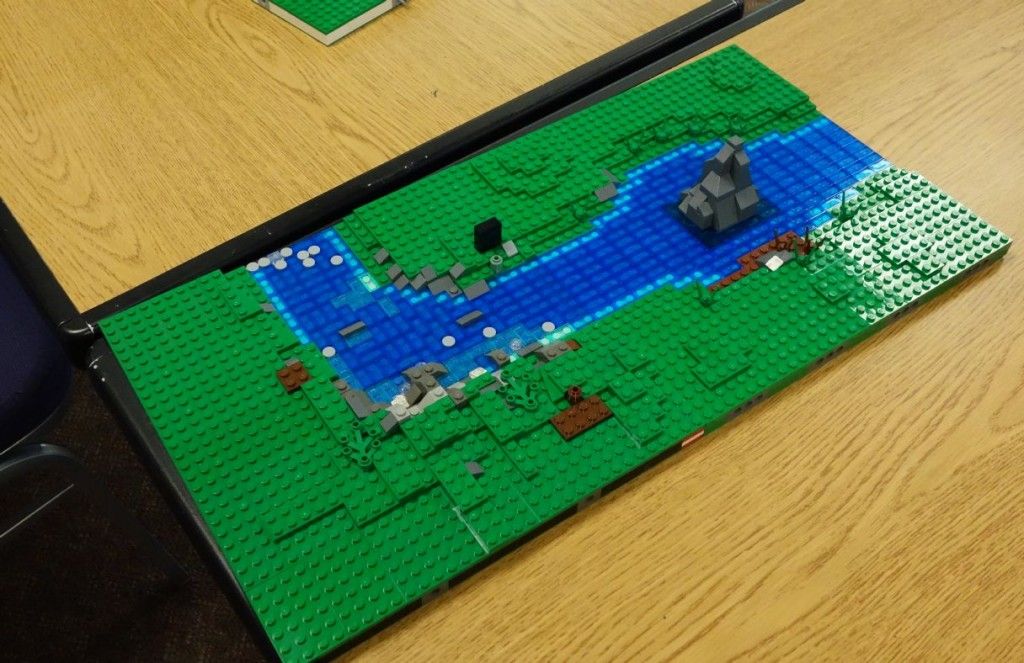
Here are a couple pictures of several sections club members have already built.
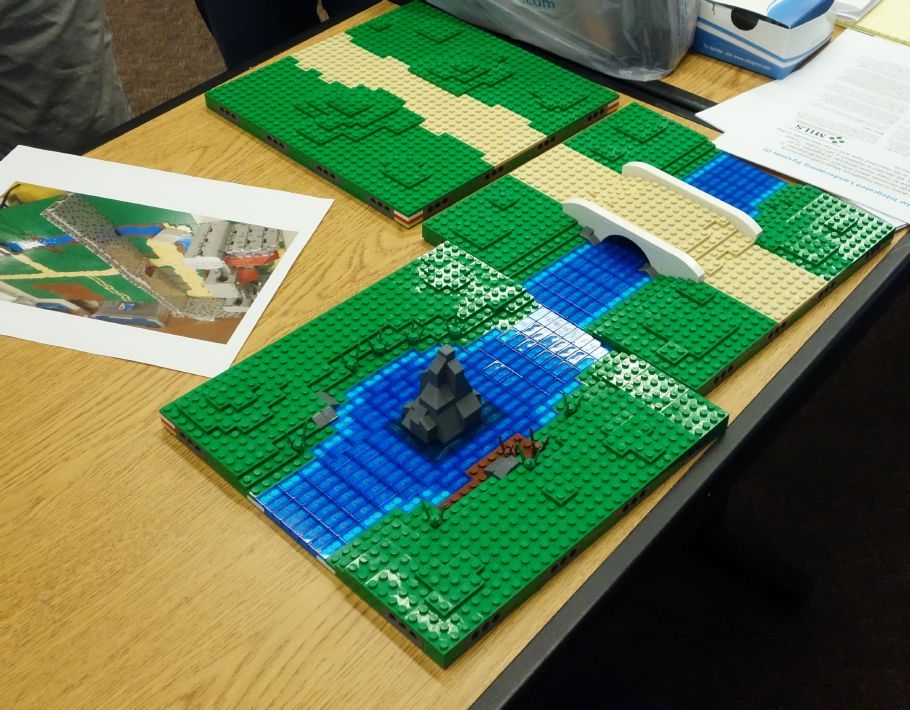
This shows how 2 modules built by different people can be combined and still look like they belong together even though the detail styles are a bit different.
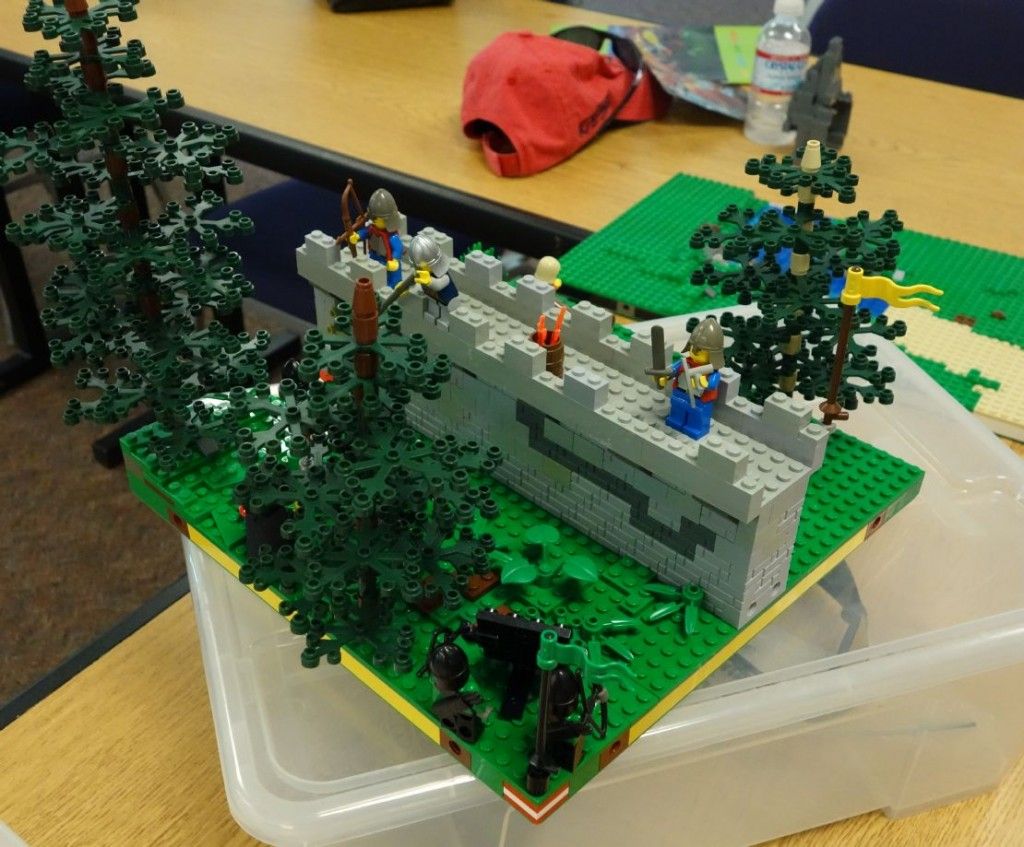
Our first major goal for MILS is for a castle-theme battle scene with a large number of landscape pieces in front of the castle’s curtain wall. We also will most likely have a CCC standard that is combined with MILS, similar to the following picture:
Instructions for basic modules
For the basic green module, the standard MILS is just a 32×32 baseplate with a layer of bricks plus a layer of plates. Here’s a series of pictures to show one of the simplier ways of building these modules.
The first layer of brick needs the technic, brick 1 x 4’s on the corners (2 studs off of the edge). I’ve added additional technic bricks at the center locations as well which is not required:
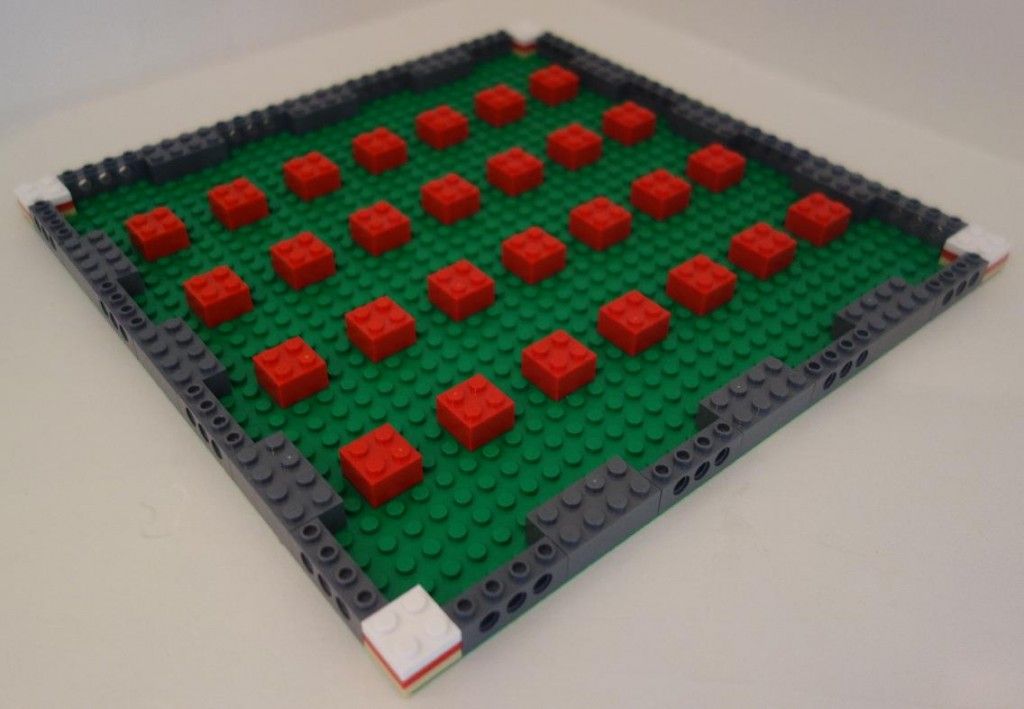
The 2×2 in the corners is the country code for the builder. This should be unique within our group so we can identify who owns each piece. (a label on the bottom of the baseplate works just as well). Notice that I’ve used random colored 2×2 bricks in a pattern in the center. For this module, I’m going to use Green plate 6x8s because I have some (You can use whatever plates you have which will change how the supporting bricks are placed). To support the plate on top, you should have a brick under it on all four corners. In this case, I’ve added another brick to help support the middle of the plate since without it, the plate bends a little more than I like. I used Dark Bluish Gray for the sides but there is no real reason to do so. If the module is going to be on the overall edge of our display, it must have the top color (in this case, green) on the sides. For quick display, we don’t always have that and I’ve noticed Dark Bluish Gray blends in fairly well and is not that noticable.
In the next step, I started placing the 6×8 plates. I had to add 2 rows of 1x8s on two of the edges to make everything add up to 32 studs.
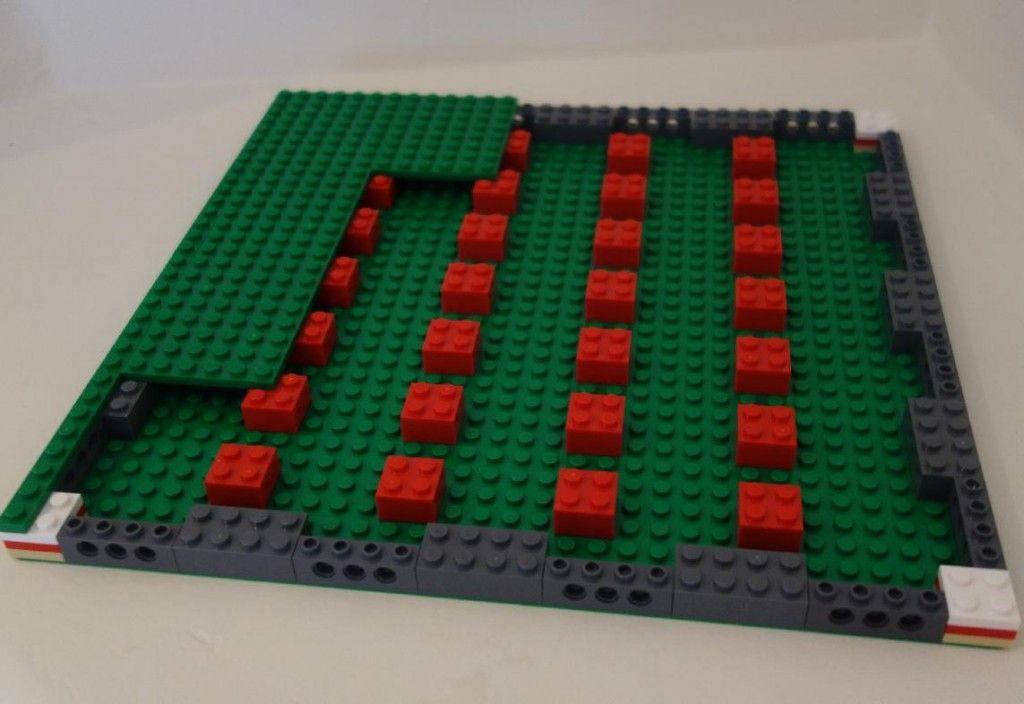
Once the layer of green plates are placed, you have the following:
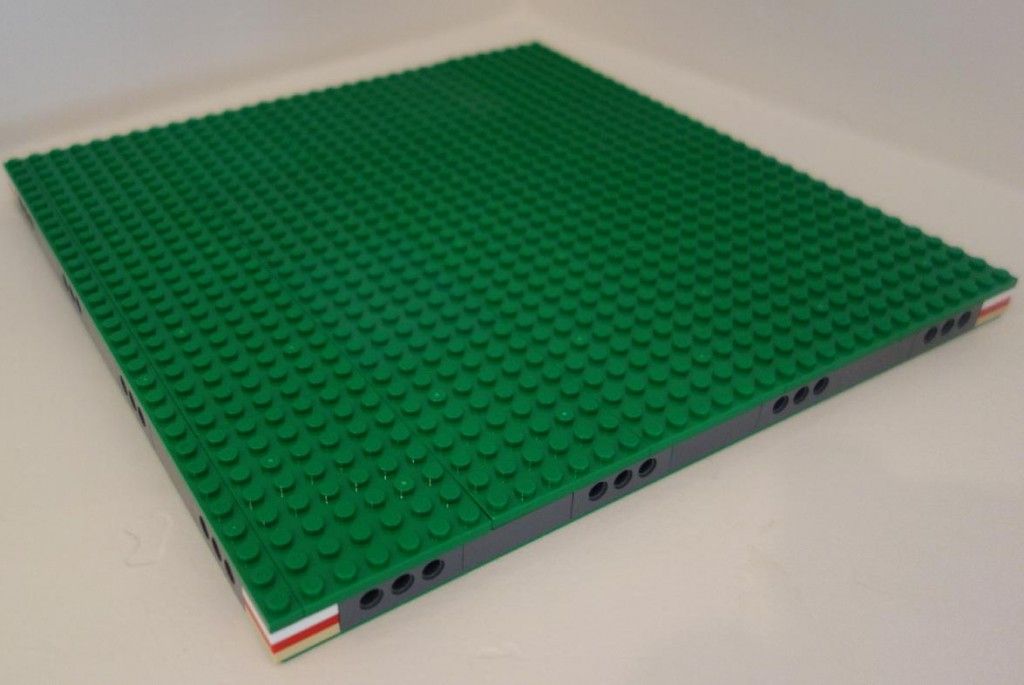
This is not quite ready for a display (although we have used this in the past), we generally want some randomness on the piece. The simpliest is to add some plates across the piece like this:
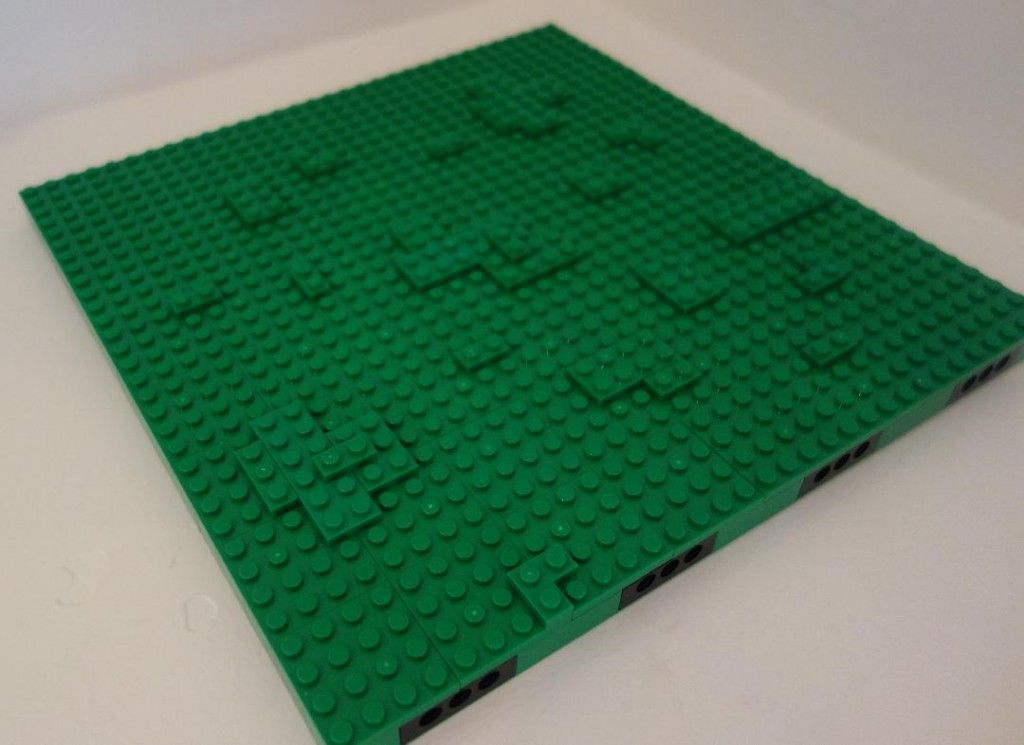
This looks a bit plain (and it is) but remember that we generally will add trees, people, carts, horses, etc on top of this. For more fancy pieces, adding rocks or mud or a hill would add a lot to the piece but remember that the edges must be able to look normal when placed against another green MILS piece so you don’t want your custom feature to require something on the piece next to it.
For the basic straight river module, the river is below the “surface” of the standard MILS module. The surface of the river is a Trans-Dark Blue tile on a blue plate which is directly on the baseplate. That means, it’s 2 plates lower than the rest of the module. This forces the supports to be removed where the river is. Here’s a series of pictures to show a farely simple straight river:
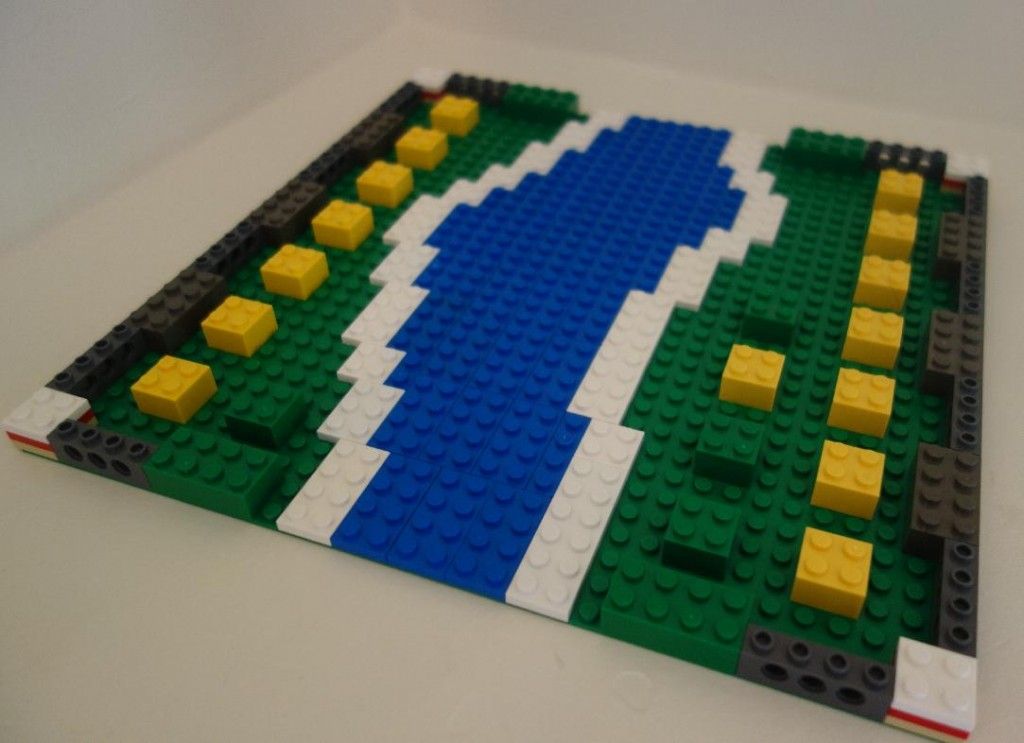
The first step in a river module is to determine where the river is. Place blue plates throughout the river with 1 row of white plate on the edges. The white plate can be missing at some locations, but it should look “normal” if the module adjacent does have the white plate. For the sections that are away from the river, place the supporting 2×2 bricks. For the bricks close to the river, use green brick because some of those may be visible depending on how quick the slope rises from the river.
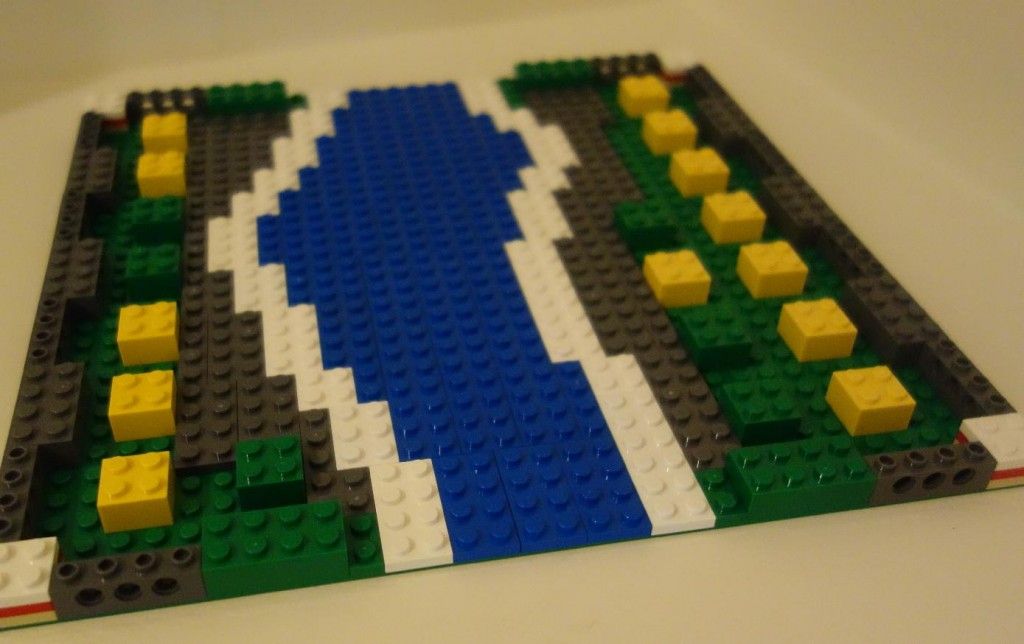
For the second step, place plates around the white plates. These can be filler color since none of these will be visible.
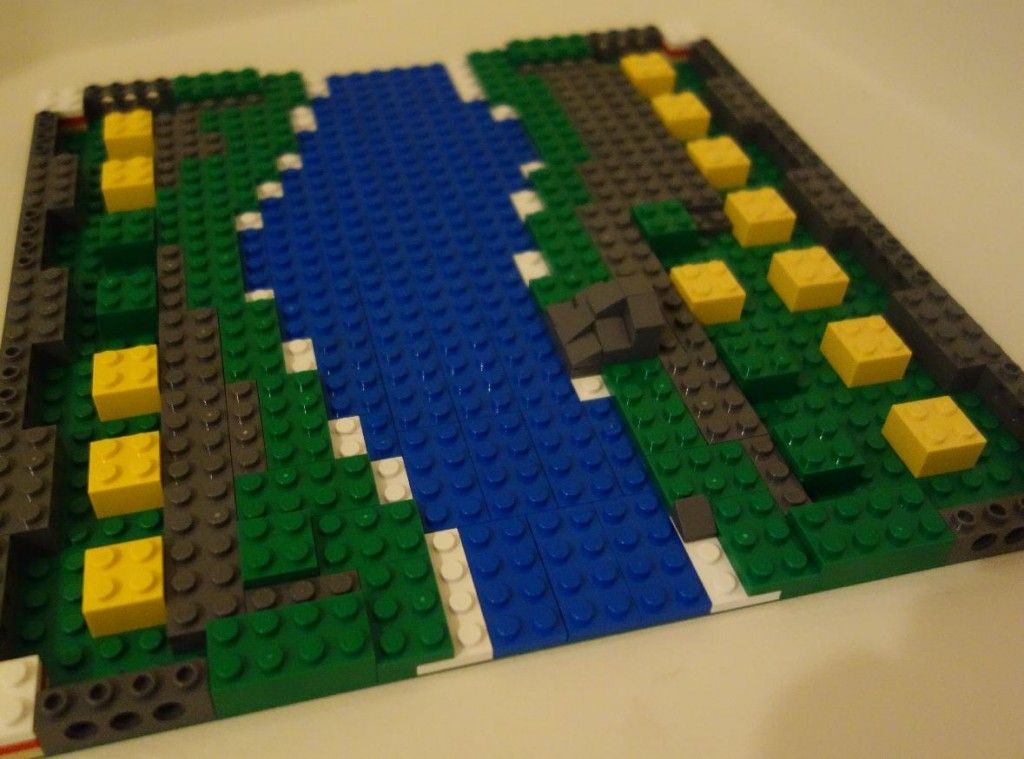
For the third step, start placing the “slope” along the edges of the river. Notice, I cover some of the white plate and some I leave around. For this step, it would probably be a good idea to add rocks or random bits around the river (white water rapids or mud or whatever you like near a river).
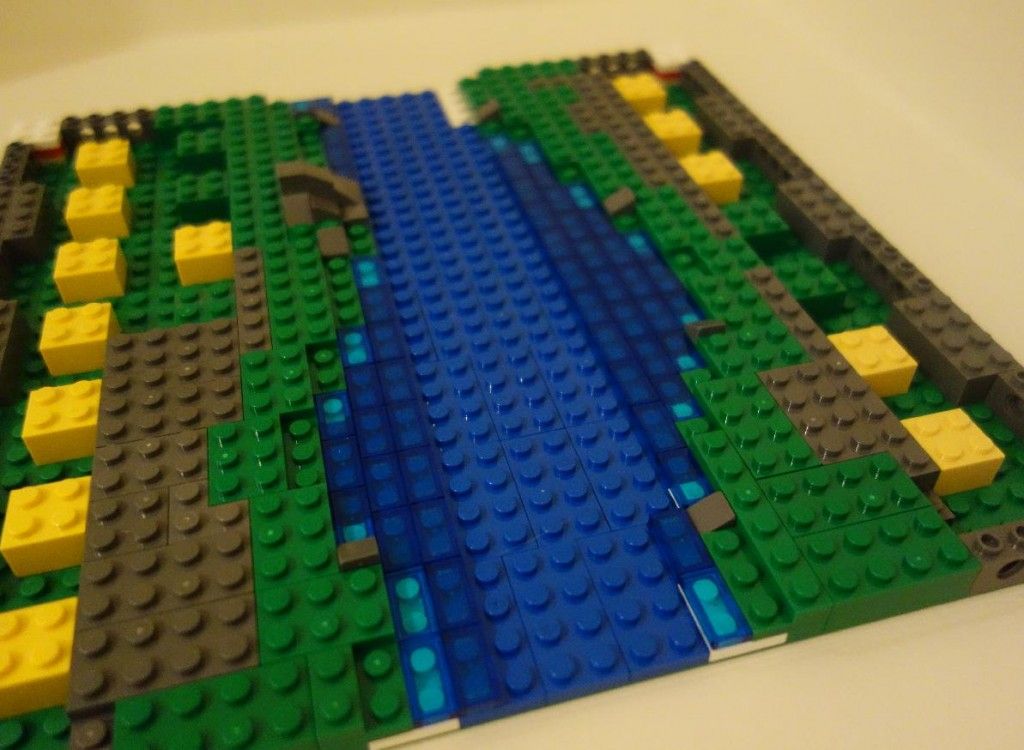
For the forth step, continue to add to the slope of the river. This raises the top level up to the same level as a brick.
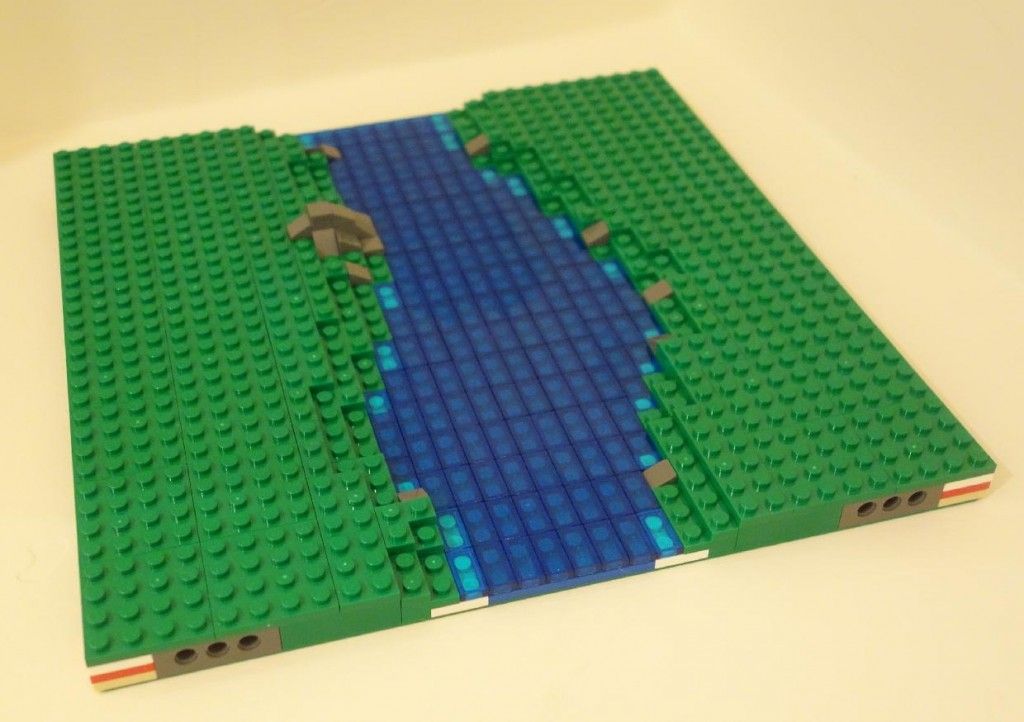
For the fifth step, place the top level “grass” around the non-river sections. Also, at this time, you’ll want to add any features you want to the grass.
We had 23 people attend our June 21st, 2014 meeting. Here’s some pictures of the meeting: